TLDR; You can open epic WIP shell maps and look at how they work as well as copy/paste sections of them.
Download example shell here.
After receiving quite a few queries on “how do lighting” there is evidently a need for a tutorial geared towards newer map makers setting out to create a shell. This article is intended to allow new mappers to quickly push a shell out by doing the heavy lifting for materials/lighting using epics shell setups.
Arguments could be made for learning lighting from shell up and thus building a better foundation of the underlying principles. At the same time some mappers want to make a shell that looks okish and get their ideas played and critiqued. Hopefully this provides a middle ground, giving new mappers a basic understanding of the entities they need to include to get lighting setup, but stealing the base settings from epics shells.
Hopefully this will also serve to improve the base level look on shells, taking that “this is my first map” aesthetics away from some authors first map. Lighting levels are less likely to be a problem using an established baseline (map is too dark/bright), however some fixes for dark areas will be included. This is a side aspect but imo worth looking at as a map textured using the default grid material and lit with a single superbright skylight looks less interesting than something like asdf or the original outside shell.
Firstly use materials from your selected shell on your map. They can be found in \UnrealTournamentEditor\UnrealTournament\Content\RestrictedAssets\Environments\ShellResources\Materials. Glossing over this aspect but may return at some point in the future. Make sure to encase the playing area of your map inside a lightmass importance volume.
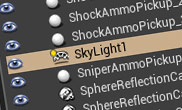
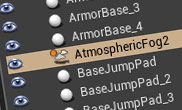
These are the entities you are looking for.
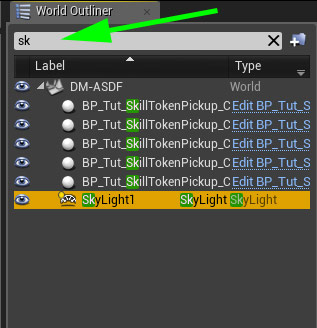
On some maps these ents are handily grouped up for selection, on others you will have to hunt around for them. You can use the world outliner to search for each. To make copying pasting all at once easier you could also move them to the same location. Don’t save the map after changing things.
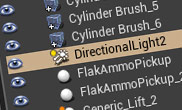 Directional Light – Used for the sun/sky light. Epic says : The Directional Light simulates light that is being emitted from a source that is infinitely far away. This means that all shadows cast by this light will be parallel, making this the ideal choice for simulating sunlight. The Directional Light when placed can be set to one of three Mobility settings… Keep reading
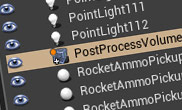 Postprocess Volume – This does all sorts of things, most of them irrelevant outside of copying the actor to get the same look/lighting as the epic shell. Epic says : Unreal Engine provides Post Process Effects to allow artists and designers to tweak the overall look and feel of the scene. Examples of elements and effects include bloom (HDR blooming effect on bright objects), ambient occlusion, and tone mapping… Keep reading
Sidenote : The fortnite double pump shotgun trick is fun.
 Sky – This is a light rather than a sky sphere. Epic says : The Sky Light captures the distant parts of your level (everything further than SkyDistanceThreshold) and applies that to the scene as a light. That means the sky’s appearance and its lighting / reflections will match, even if your sky is coming from atmosphere, or layered clouds on top of a skybox, or distant mountains…
 Atmospheric Fog – Gives us a sky and sun. Sort of. You can add a sky sphere in addition to this, but imo on a shell for gameplay testing purposes it adds little. Epic says : gives an approximation of light scattering through a planetary atmosphere. This can give your outdoor levels a much more realistic look. This total effect includes the following… Keep reading
Copy all of these from whichever shell you are using, open your map and paste. For this example dm-asdf is used. The shells can be found in UnrealTournament\Content\RestrictedAssets\Maps\WIP
What does this do?
After rebuilding lighting we have a lit map. The epic shells rely fairly heavily on the skylight, and for good reason. It looks good and is quite easy to use. So far the only lighting you have is a skylight.
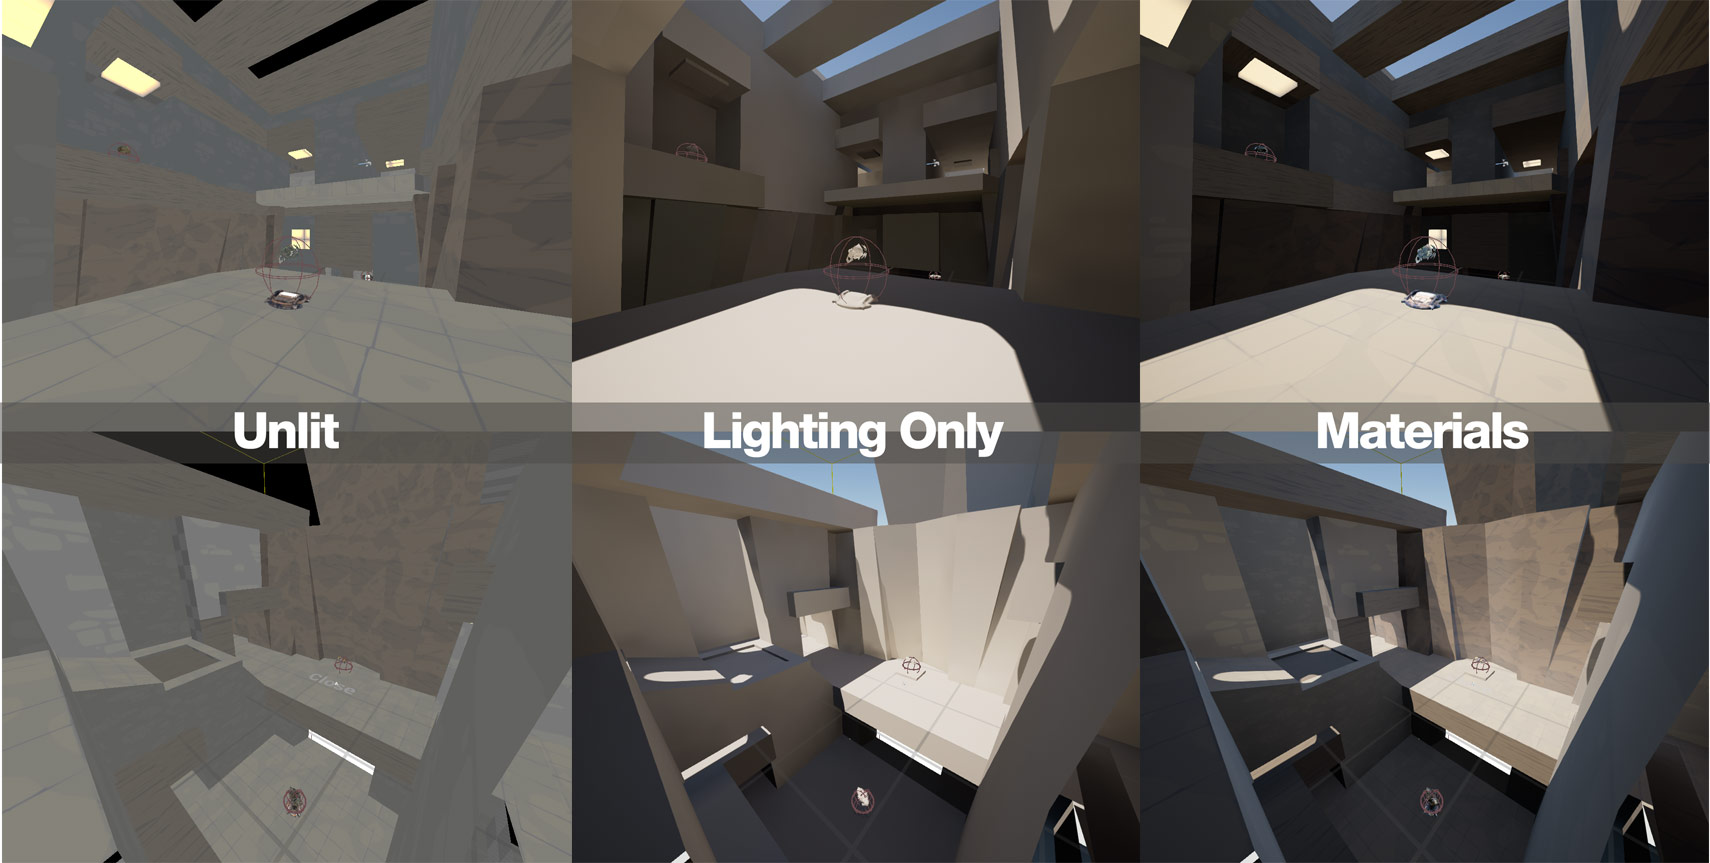
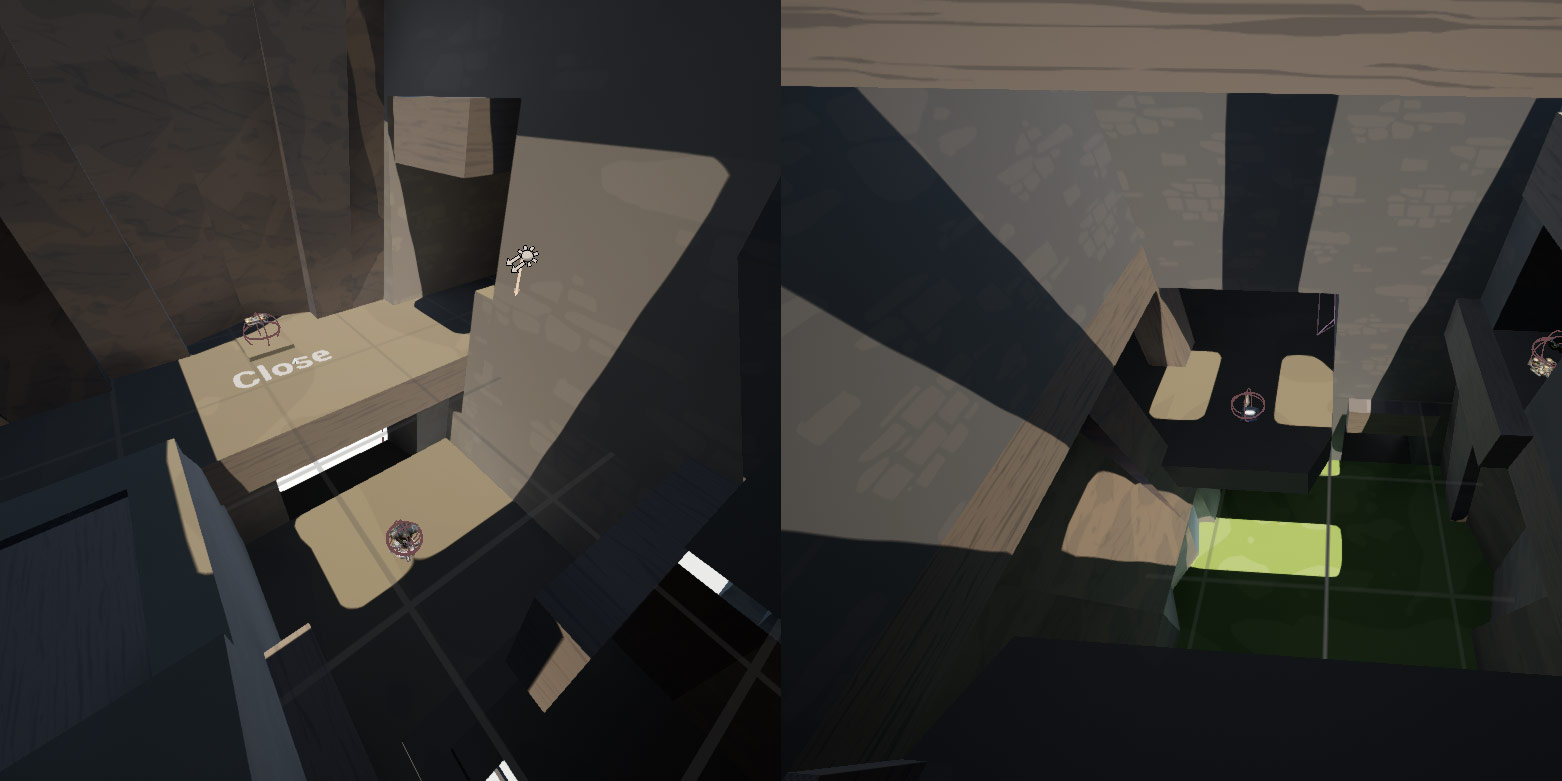
These screenshots are lit using the single DirectionalLight with the settings from dm-asdf. The only entities that have been added are the four listed above. The floor in our sample map uses a material from the Castle ShellResources set. One thing to note is that the lighting setup is tailored to the different shell materials. Taking the ASDF settings and using them with other materials, such as Castle may not have desired results, especially if the material is fairly bright, like the castle flagstones.
Changing this to the same material as the ASDF floor brings the contrast down to a more reasonable level. Take note of the Rotation on the DirectionalLight.
From here the main values we can tweak is the Intensity and the Rotation of the DirectionalLight. Starting with Rotation is good as the light is setup for ASDF and its geometry and may not work well with our sample map. In the screenshot above we can see the floor of the room is quite dark, mainly due to the lights Rotation. Changing to a less aggressive angle can put more light onto the floor. Aiming the light straight down looks unnatural but is an ok starting point for tweaking. Using the rotate widget allows us to give the light a more vertical orientation. 15 degrees is enough. The amount of rotation in the screenshots may not be ideal but it is a starting point for adding additional lighting lower down in the atriums – at least there is now sunlight on the floor of both rooms.
For geometry in the sample map the light could also have been rotated on its Z axis (blue) to be coming from the opposite side of the level. The amount of rotation in the screenshots may not be ideal but it is a starting point for adding additional lighting lower down in the atriums.
The Intensity is acceptable and for now this need not be changed. This is judged by the areas the light is hitting directly – they are sufficiently bright. If the Intensity is raised further these areas will become too bright/overexposed*. However the “dark” sections are quite dark and contrasty, especially next to the brighter sections. Changing the DirectionalLights Indirect Lighting Intensity is one way to brighten up these areas. Setting this value to 15 lightens up the darker areas a little. This value caps out at 6 if you use the slider but you can manually type in a higher number. Raising this too high can cause odd lighting effects and for very high values a lower intensity needs to be used.
*unsure sure if this is the correct term
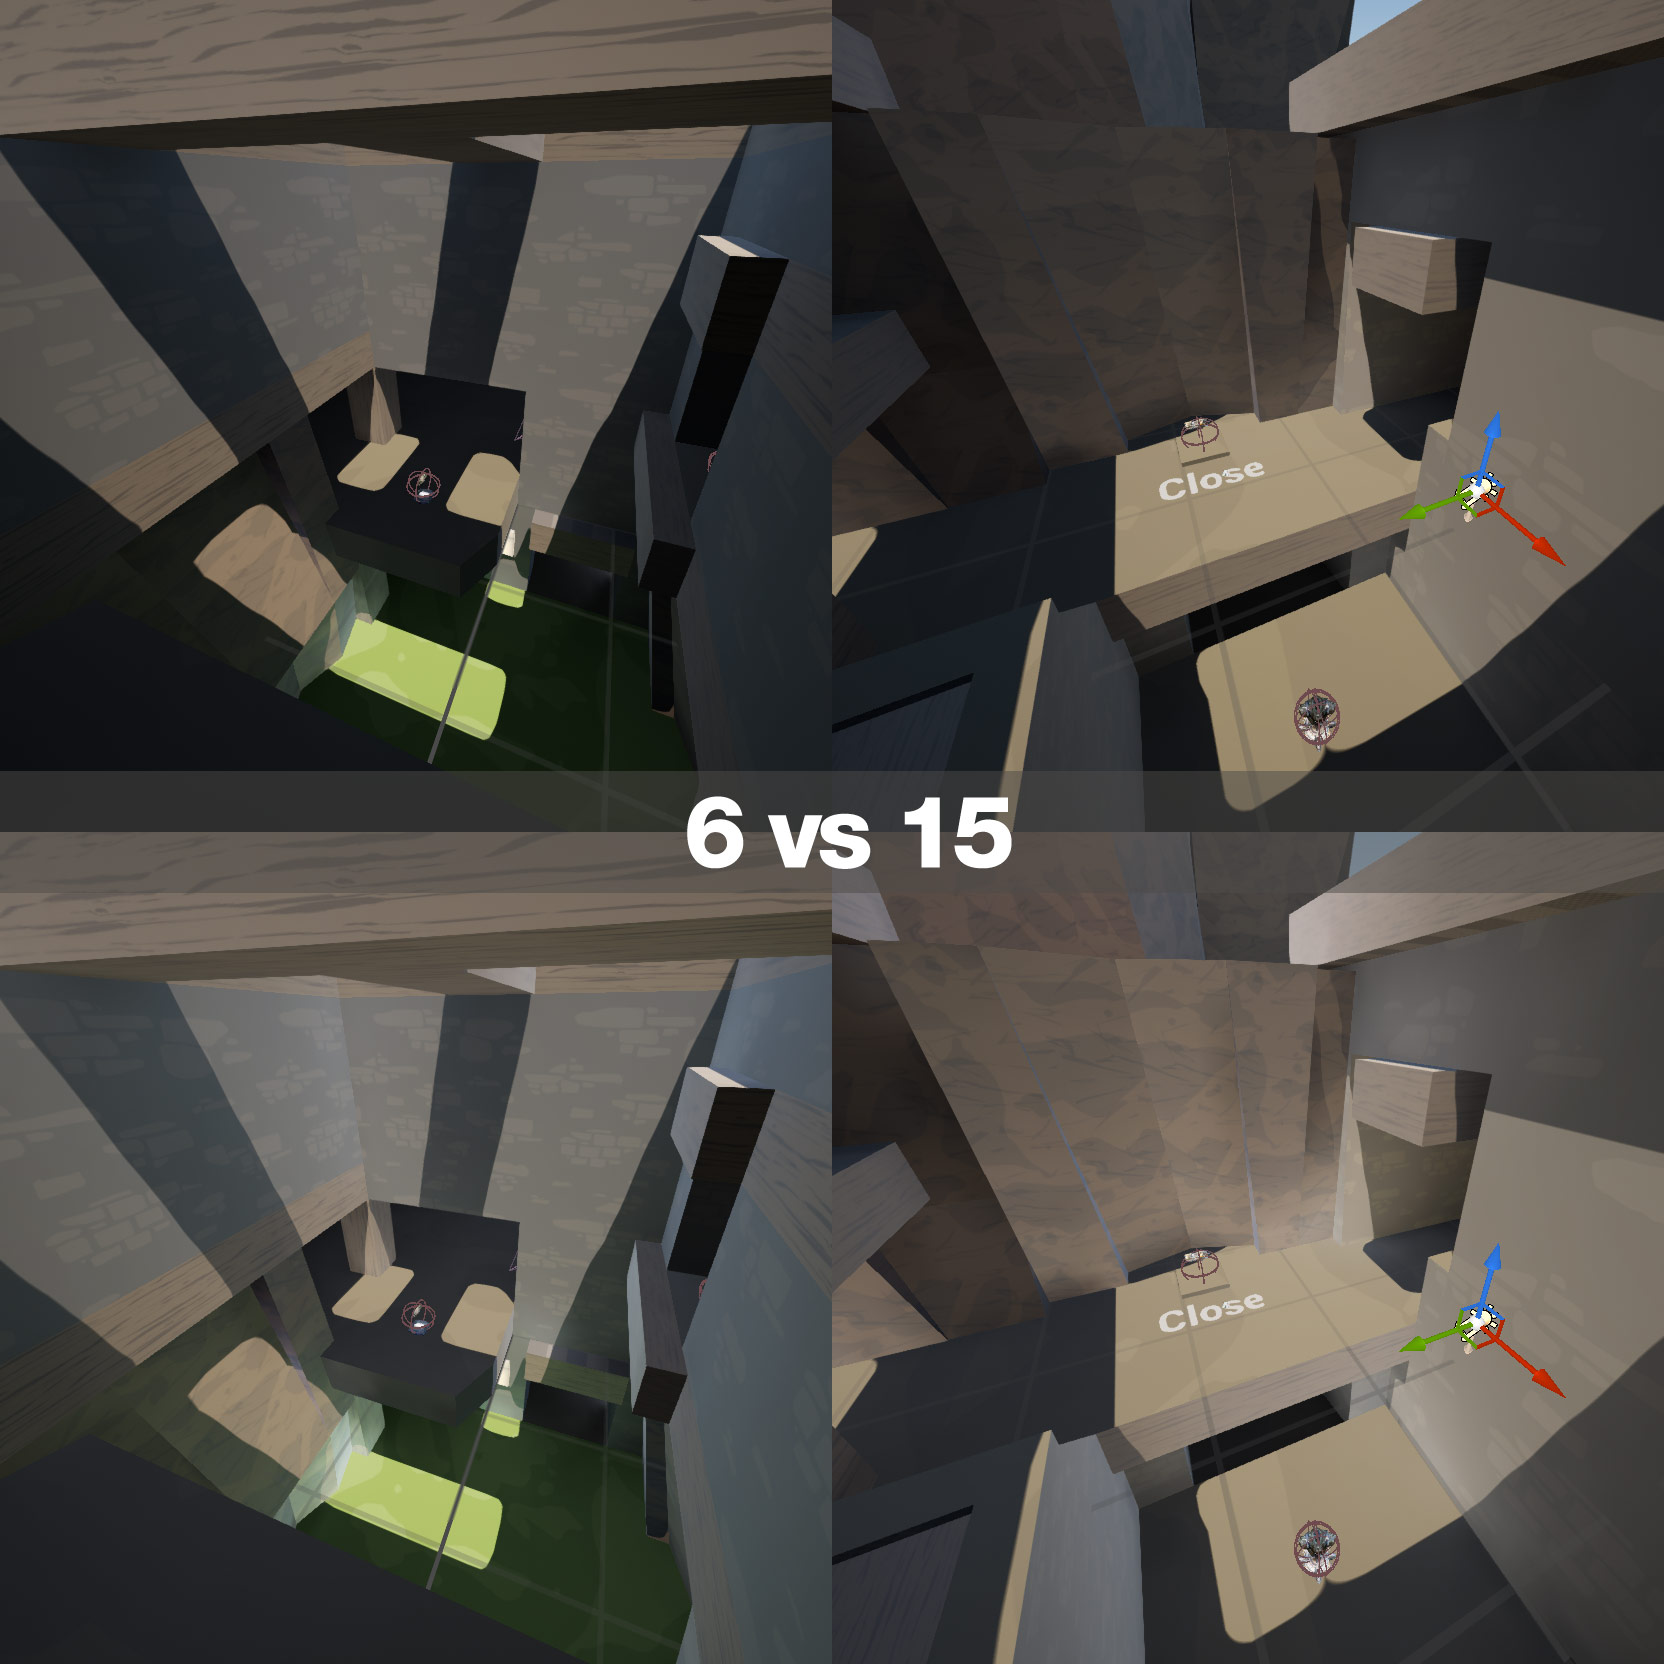
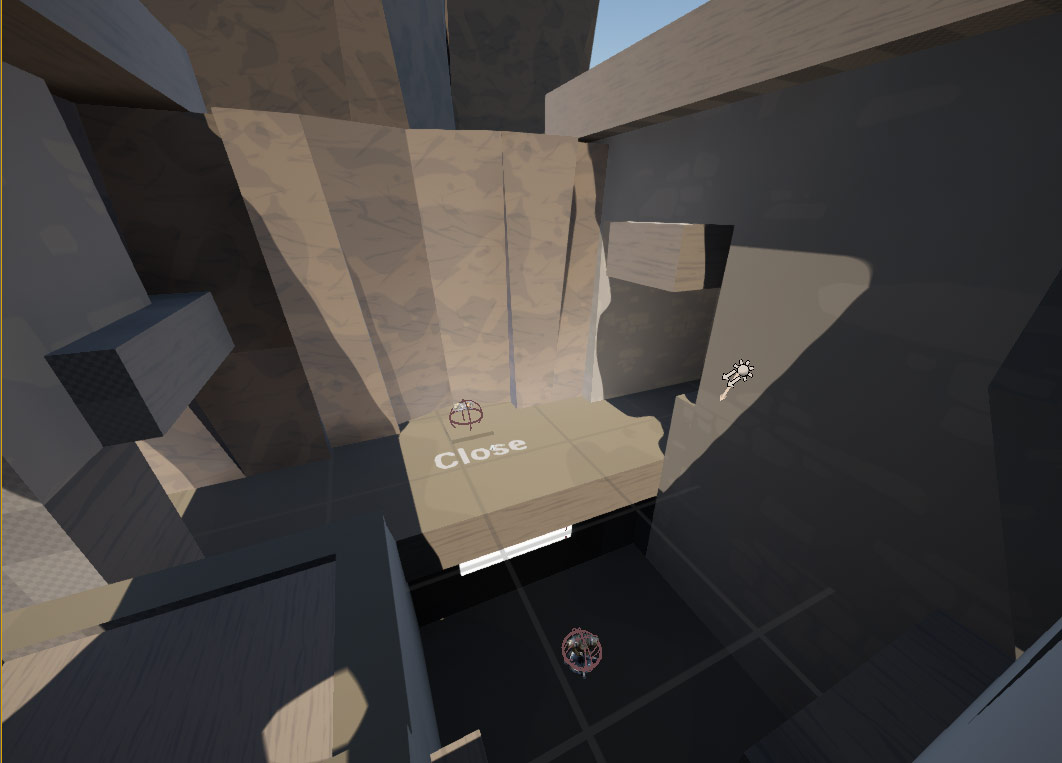
Changing this variable is an interesting way to add subtle fill lighting. The image below is a lower corridor on the sample map (dark with the value of 6 from ASDF) showing how a high Indirect Lighting Intensity on the DirectionalLight effects the scene. Note the subtle shadowing on the floor at the corner on higher values. Hawt.
Basic lighting theory
If you allow the skylight to do the heavy lifting it should be adjusted to a level that gives decent coverage over most of the map from the beginning. It should be the first light you dial in. After this we can add additional lights – in corridors and areas that are closed – as well as fill lights to smooth the lighting in and brighten up darker areas. Tweaking the skylight first is important as adding other lights then tweaking the sky may require you to go back and re-tweak the additional lights. And there may be many.
Stick to lighting with the sky first then adding extras to support it.
Extra Lights
At this point we are done with the initially copied entities.
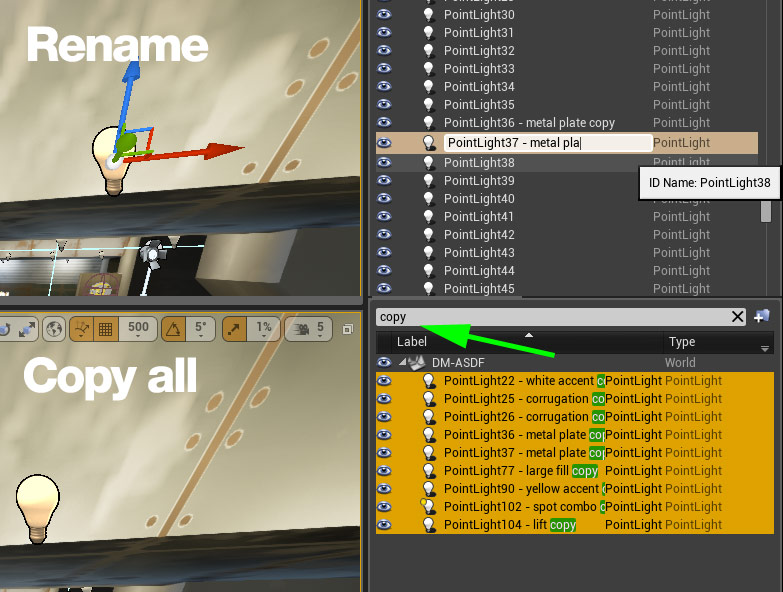
Open dm-asdf and grab some of the lights from the shell. Take quite a few and cull down later if you double up. You can change the name of the entity to keep track of which one is which. Adding a string you can search for later to bring up all the lights you want to copy is also handy at this point.
Copy them all and paste them back into the example map.
Example 1 – Lower keg area
Taking the lights from the metal corrugation walls on ASDF (eg near helmet) 1) minimal light from the sky penetrates here, what@light leak. 2) one light is added to each corner . This looks ok, the area is lit. 3) Adding two additional lights the same near the mini and one near the keg brighten up the area further. 4) Finally two of the large fill lights from above the belt area on ASDF are added to bring up the dark sections between the corrugation lights. Imagine using a small point light style fixture low to the ground here.
Example 2 – Shard hallway
The map we are lighting is a rough remake of ZTN. I put it together when I first got back into the editor to “relearn” the tools. The shard hallway and upper sections of the map are lit with large flat ceiling lights. We will use the yellowish lights from the lifts on ASDF. One on each ceiling “light”. Done. Looks ok and no additional brightness is needed at this point.
The lights used in the lower keg area have a smaller Attenuation Radius and need additional support from the large, lower intensity fill lights we placed. Because the second set of lights is larger we can skip this step.
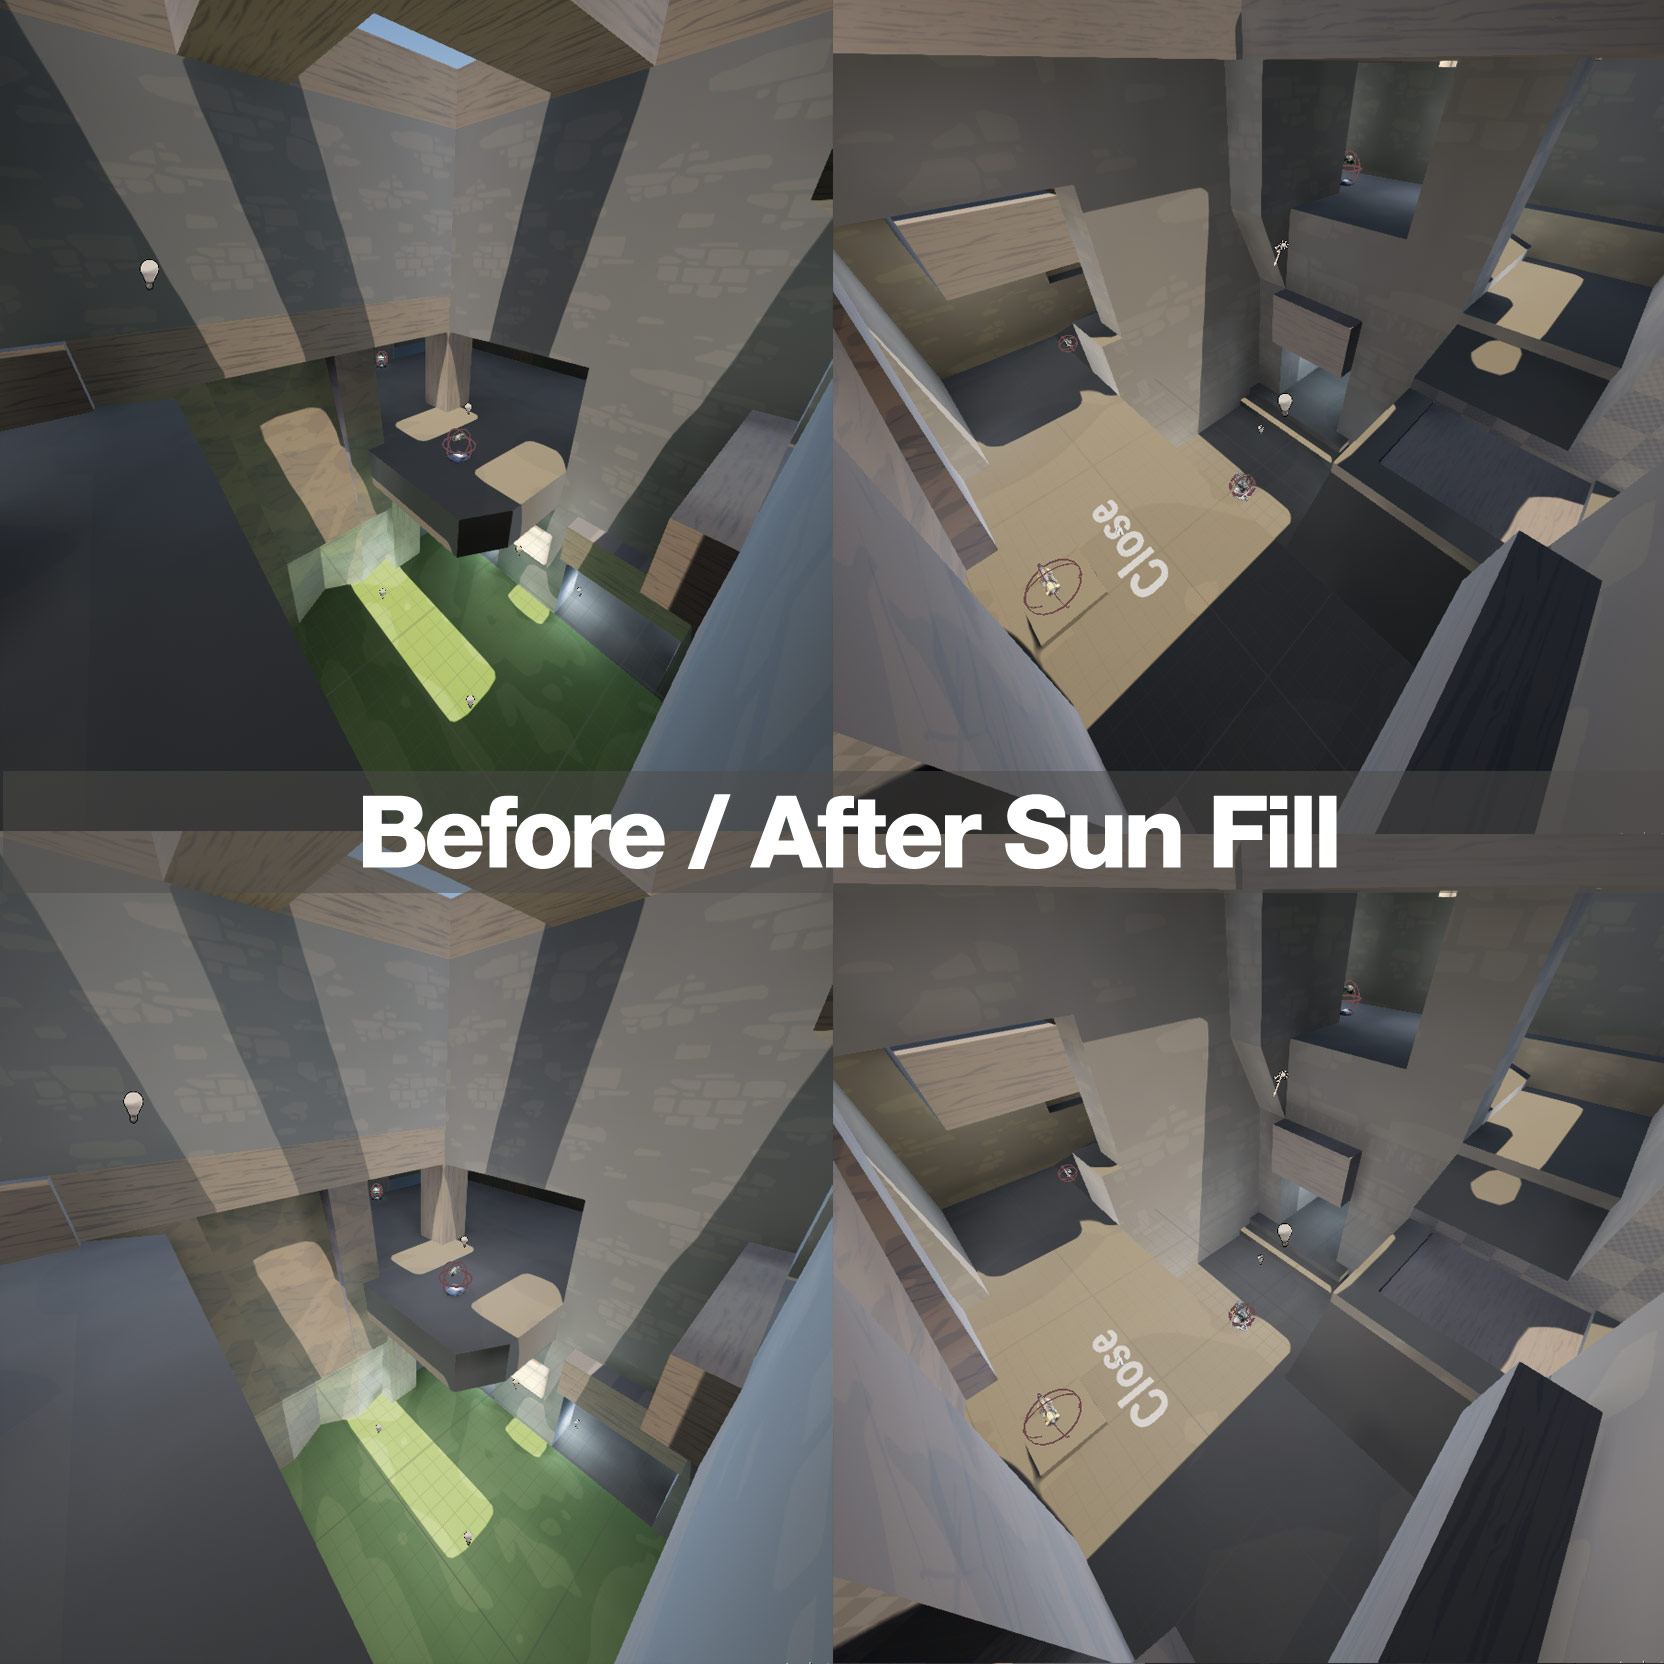
Example 3 – Sunlight fill
We will now step away from the ASDF copied lights to add some fill for the sunlit areas.
To do this we will create large lights with low falloff, allowing them to light large areas with around the same intensity. Because they require no detail they are set to static.
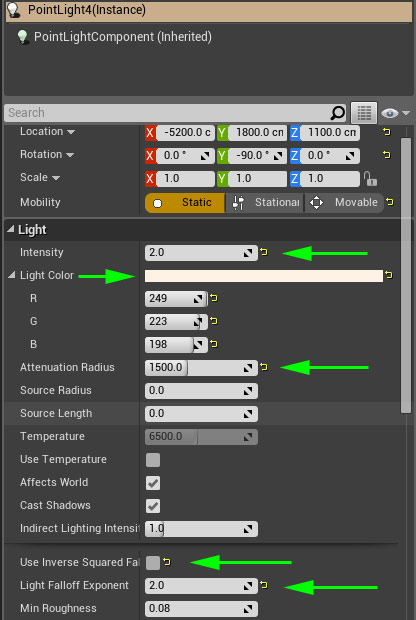
Create a new PointLight and change the following values.
Intensity – 2
Attenuation Radius – 1500
Inverse Square Fall Off – disable
Color : F9DFC600 (same as the sky DirectionalLight)
Light Falloff Exponent : 2
The Intensity is low due to inverse square falloff being disabled. Epic docs on Inverse Square Falloff
Place these on the map where the sun is hitting the ground. They are large, soft, low intensity lights that slightly brighten up and reduce contrast between sun and shade. They are large and no need to be super precise with them. If you get red crosses make sure you changed the new lights to “static”.
Level Design